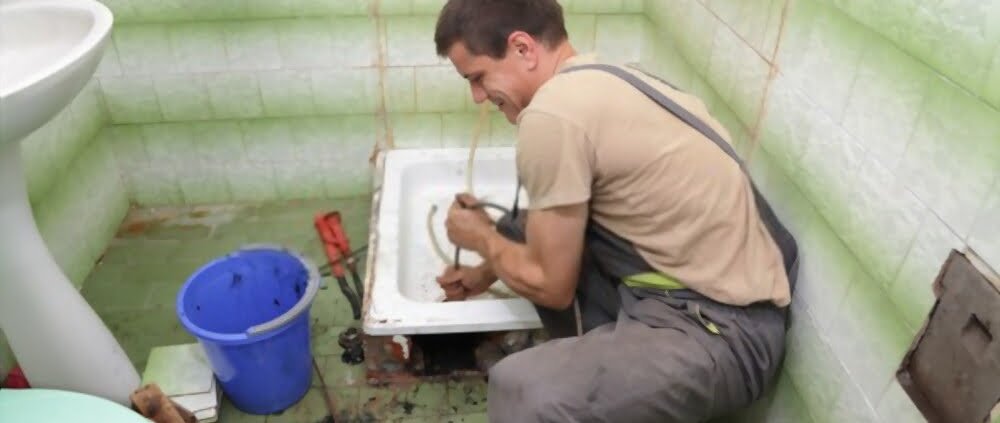
How to Remove a Shower Drain
In our homes there are some shower drains fixed in bathrooms, kitchens, and balconies. A shower drain is composed of four basic parts:
- Grid
- Strainer
- Vent
- Trap
The primary function of the shower drain is to drain the wastewater into the sewerage system and to maintain the interior air quality of bathrooms. But sometimes it stops draining wastewater which creates a big hurdle for us. So in this regard, we must know How to remove the shower drain? So that we become able to repair or replace it easily. Before removing the shower drain you must have some basic tools e.g.
- Utility knife
- Screwdriver
- Pliers
Here are the 12 easy steps which help you to get an answer on how to remove the shower drain.
1: Buy some lubricants
The first step is to purchase some lubricants. These lubricants are used to close the shower drain so that we can remove it easily. WD-40 is a highly recommended lubricant.
2: Drying of shower drain
Before applying the lubricant you must dry the shower drain properly with any cloth piece or with a towel. Drying is important because with a wet shower drain the lubricant may not work properly.
3: Clog checking
Check the drain properly and find out if there is any clog or not. In case If you find any clog there then you have to unclog it first and then apply the lubricant.
4: Apply the lubricant
After checking the clog and letting it dry, now apply any sort of lubricant gently on the shower drain as well as put some lubricant inside it.
5: Find the type of shower drain
Mostly, there are two types of shower drains. One is the screw-fixed shower drain and another one is the flat one which is tightened on the floor without any screw. So If it the screw-fixed type then use a screwdriver to unscrew it.
6: Put the pliers
Now, you have to put the head of two separate pliers in two small holes of the shower drain.
7: Clasp the handles of pliers
Most of the shower drains are fixed into the floor just like the screws are fitted. So in this regard, clasp the handles of pliers and untwist them. This step is just like removing a screw with the help of a screwdriver.
8: Untwisting
After grabbing the handles of pliers, start untwisting the shower drain until it is completely separated from the floor.
9: Uplift the Shower drainer
Now uplift the shower drainer with the help of pliers gently to avoid any sort of damage. If you are still feeling difficult to lift it then use a little lubricant again.
10: Use the pliers carefully
While lifting the shower drainer, handle the pliers carefully. Neither you should grab the handles of pliers tightly nor you should grab them too loosely.
11: Examine the shower drain
As you have removed it successfully, now check the shower drainer carefully if there is any rust, clog, dirt or something has stuck in it. Remove these things and try to fix them before rejecting the shower drain.
12: Replace the shower drain
If you find there any severe damage which is not fixable then call a plumber and replace it with a new one.
Here is a guide that helps you how to remove the shower drain. Feel free to contact us.

